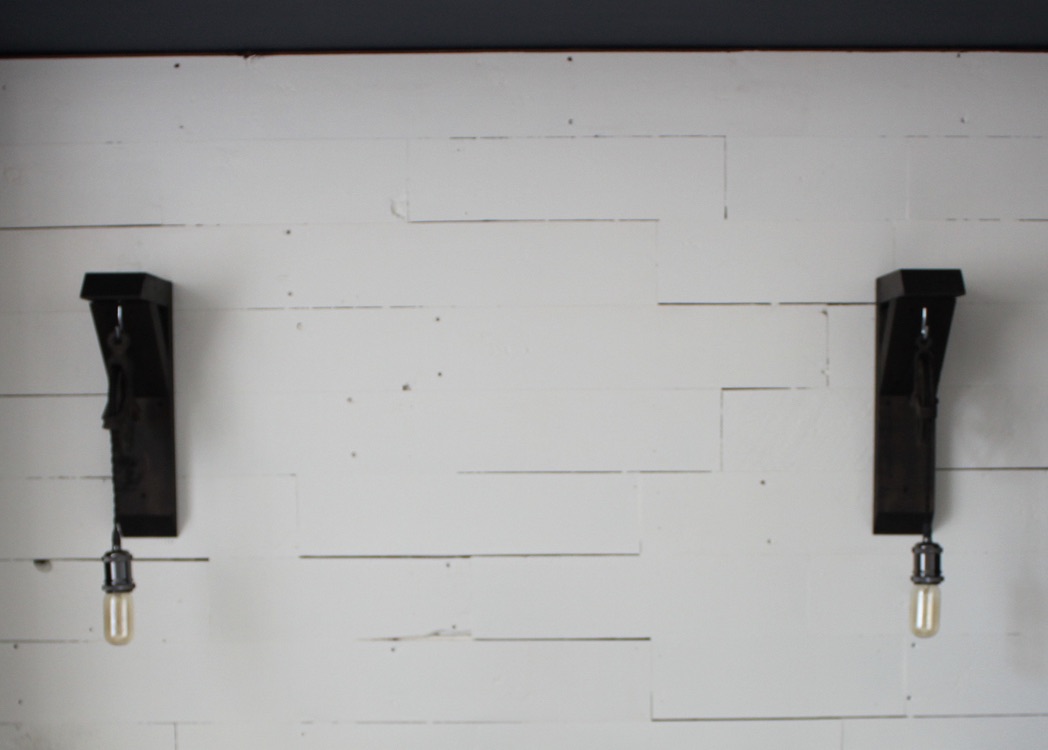
Initially when we were considering lighting in the alcove, I was set on pot lights. These would eliminate the need for the lamp that rested on the headboard (sometimes…when it wasn’t falling over). The issue with the room layout was that the closets banking both sides of the bed made it impossible for a nightstand of any kind. Years ago, I made bedside pocket storage for both sides of the bed to help solve this issue, but it still wasn’t ideal, as you really can’t fit a lamp in a pocket!!

It was actually Tim’s idea to mount sconces instead of pot lights. Originally, I was like “no” I really want pot lights, but the more I thought about it, the more I liked the idea. Of course, the issue with me is that I don’t just want normal store bought sconces….I wanted something original that would fit with the overall design I had in mind. Lucky for me, this wasn’t a hard sale. I found a few DIY sconces on Pinterest that I liked and Tim set to work. Although he didn’t follow this plan to a tee, this is the style he modelled ours after. We had seen some really awesome fixtures with pulleys and decided to incorporate that into the design as well.
Custom Farmhouse Style Light Sconces:
Tim constructed the sconces out of…you guessed it…scrap wood we already had. I decided on a dark stain to contrast the very white walls. We also just happened to have two old clothesline pulleys in the basement. We had removed the previous owners clothesline (from the basement rafters) when we moved in, but luckily Tim kept them. We ordered the wire and light kit from Amazon. The light sockets came in a set of four for $22.99. The cord was a bit pricey at $25.99, but there was enough for both sconces, a new fixture in the kitchen and still extra for another project. This was a relatively simple project for Tim to build, but the wiring made it a bigger project. I am honestly so lucky…my man can do anything!!


I found some amber vintage style light bulbs on clearance at Michaels. The original price was $12 each, but they were clearing them for $3, so needless to say I bought several. We tossed around several ideas and even sampled a few different “shades” for the sconces, but in the end we settled on upcycled lamp shade frames. I picked up this set of shades for $3 at the thrift store, removed all the beads and then rigged up some wire across the top to hold the “shade” in place. I must admit removing the beads was a brutal job. There must have been a million of those little suckers and all were individually beaded onto fine wire. Not only did it take me a couple of hours to remove the beads and wires, but my fingers were filthy and super sore from the tedious work and wire pokes😣. The final step was to spray paint the completed shade a matte black.
I love the way they turned out! Tim did such an amazing job with the building, staining and installation of the sconces. The amber light isn’t as bright, but is still fine for reading. I love that he put them on a dimmer switch, so that we can adjust the light depending on our needs.


Keep an eye out for my next Master Bedroom Makeover post where I’ll share how we transformed our old ceiling fan, so it would work with our new farmhouse bedroom design.


